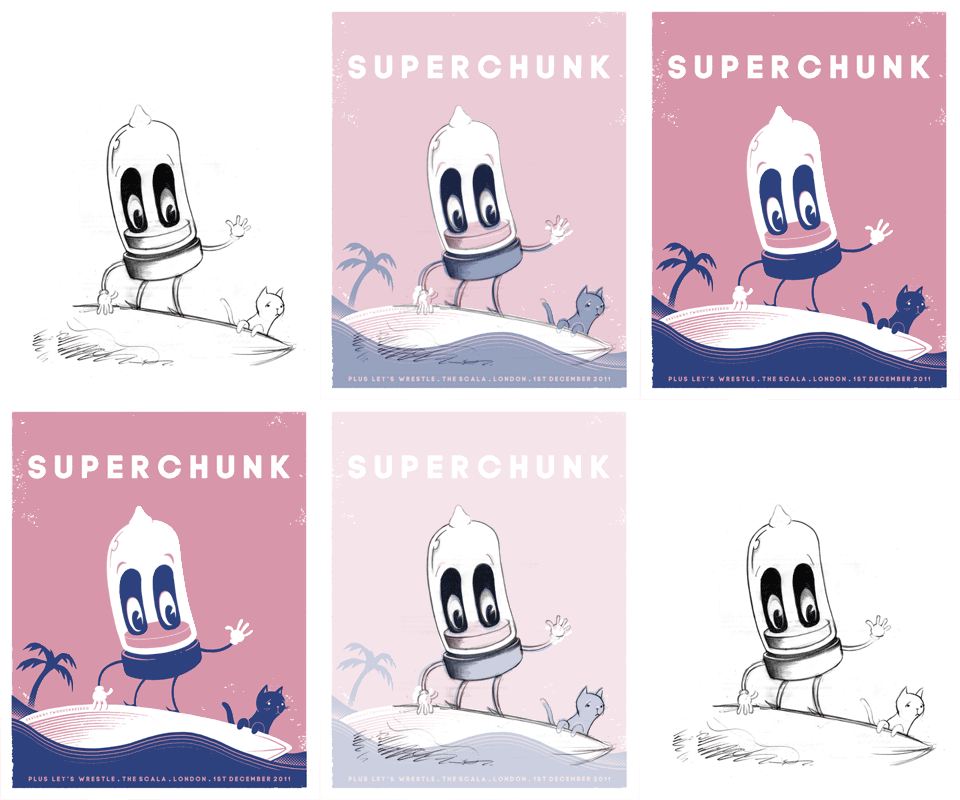
Since this is a poster I've dreamed of doing for about a year, the actual design concept fell together quite quickly. I basically wanted their mascot 'Tube Guy' riding some waves with a reluctant cat. Simple...
 Here is the original sketch and how it progressed to being the final design in Photoshop.

Without further ado, here is the print process for the Superchunk poster; starting with a picture of the transparencies, which are then 'burned' to the screens using chemicals and UV light.
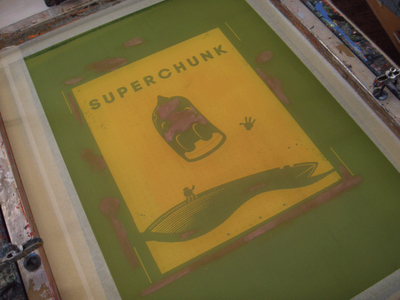
 The first screen in place, ready to be printed.
 The first colour to be printed was a 'dusty' pink.
 Here are the posters, having had the first colour printed, drying and awaiting the second colour.
 Whilst mixing the second colour, I discovered a face on the spatula... Creepy.
 The posters on the drying racks, waiting to be signed and numbered.
 The posters came out great in the end and I managed to produce a run of 62, 30 of which will on sale from the band at the show tonight.
I do of course have the remaining 32 for sale from my online store. So if you want one, head over and grab one before they're all gone. They go 'live' at 10pm tonight!


4 comments:
These are gorgeous! Screen printing is such a great process, I just got to experience it the other day (http://www.catillest.com/blog/print-club-workshop/) Will be making my way over to your shop now!
The posters look awesome and it's heaps interesting to know how you made them. I was at the gig; you missed out on a great show!
The product was magnificent! Too bad I was not able to purchase even one of this posters.
I truly like to reading your post. Thank you so much for taking the time to share such a nice information.
Cheap Poster Printing
Post a Comment